Modelling the BGTY Grain Wagon
Modelling modern image trains prototypically has its challenges. While it is easier to go out and measure the real thing, commercially available rollingstock options remain limited. Finding specific wagons often requires a DIY approach.
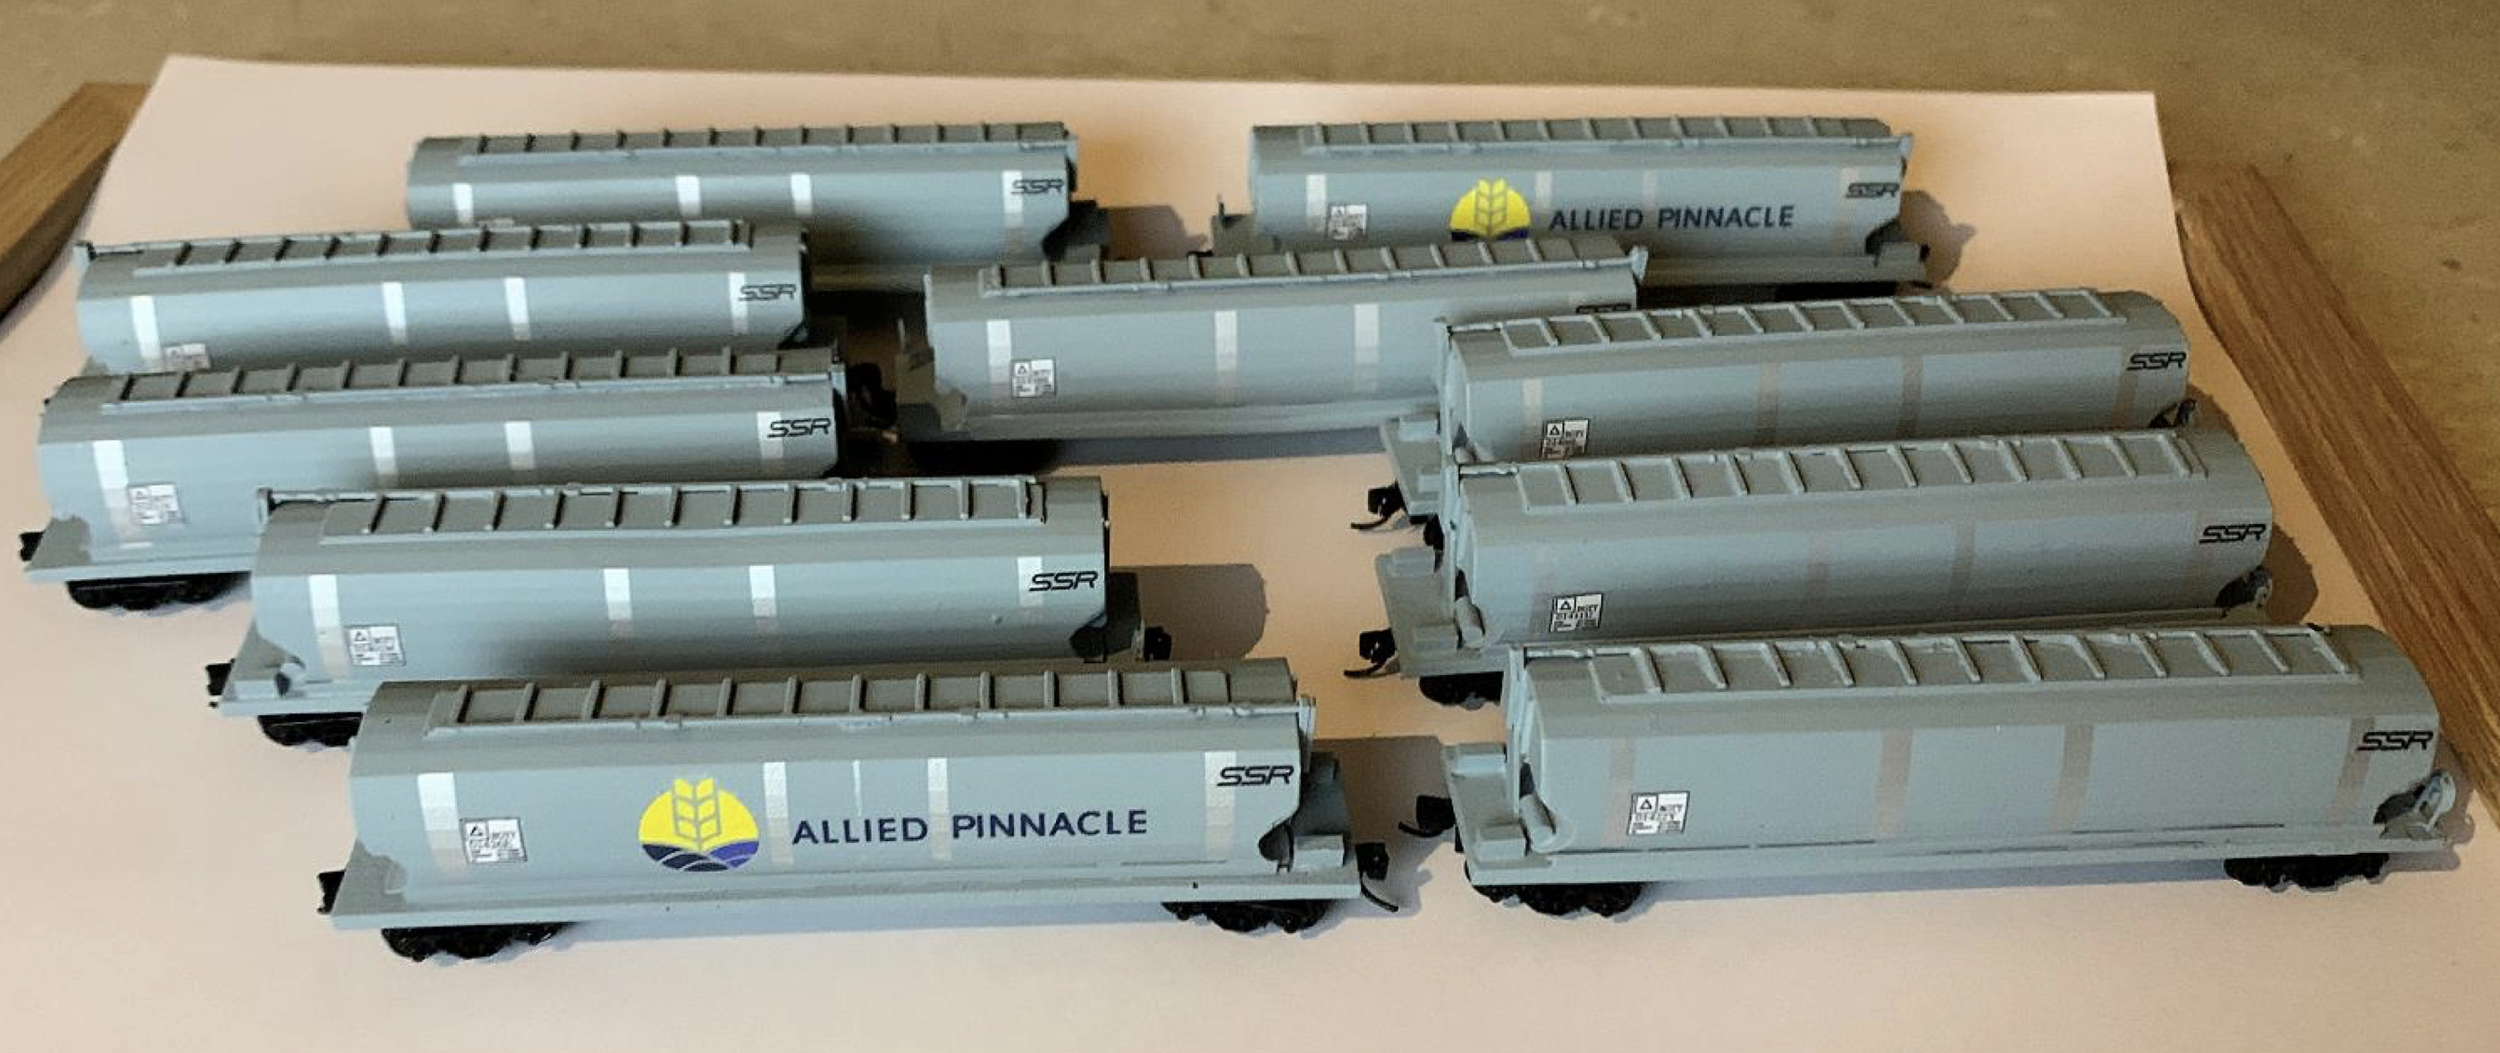
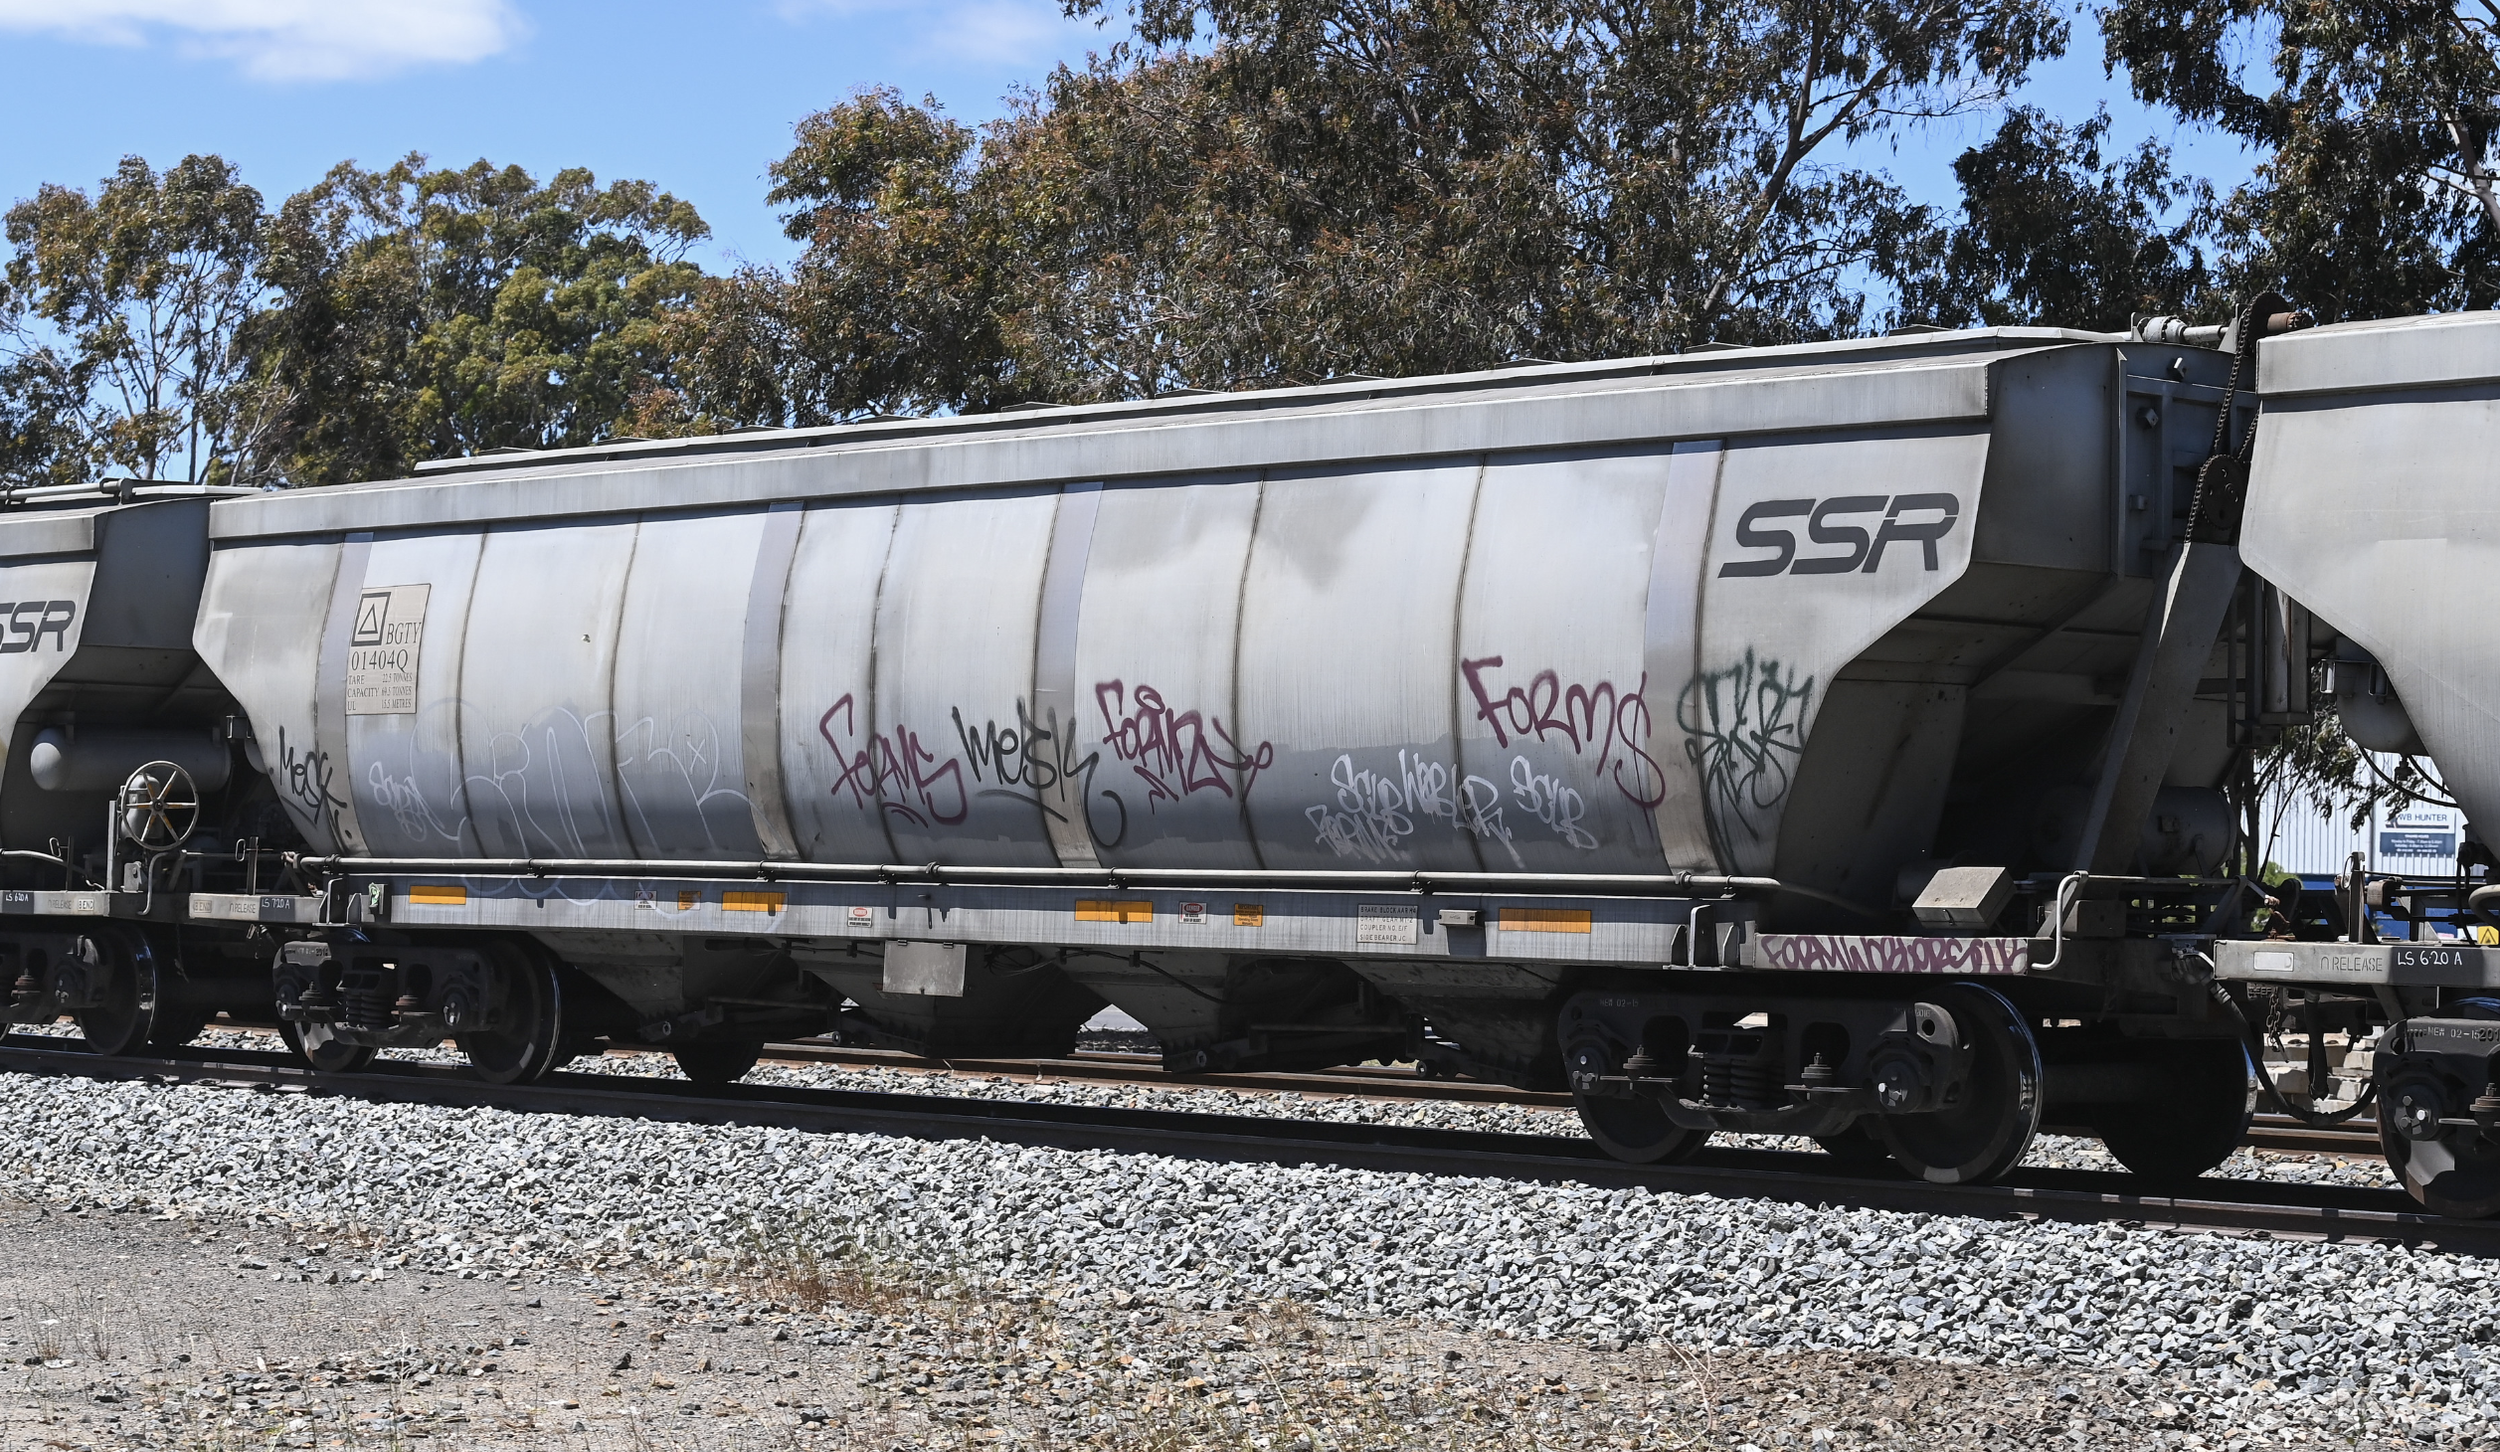
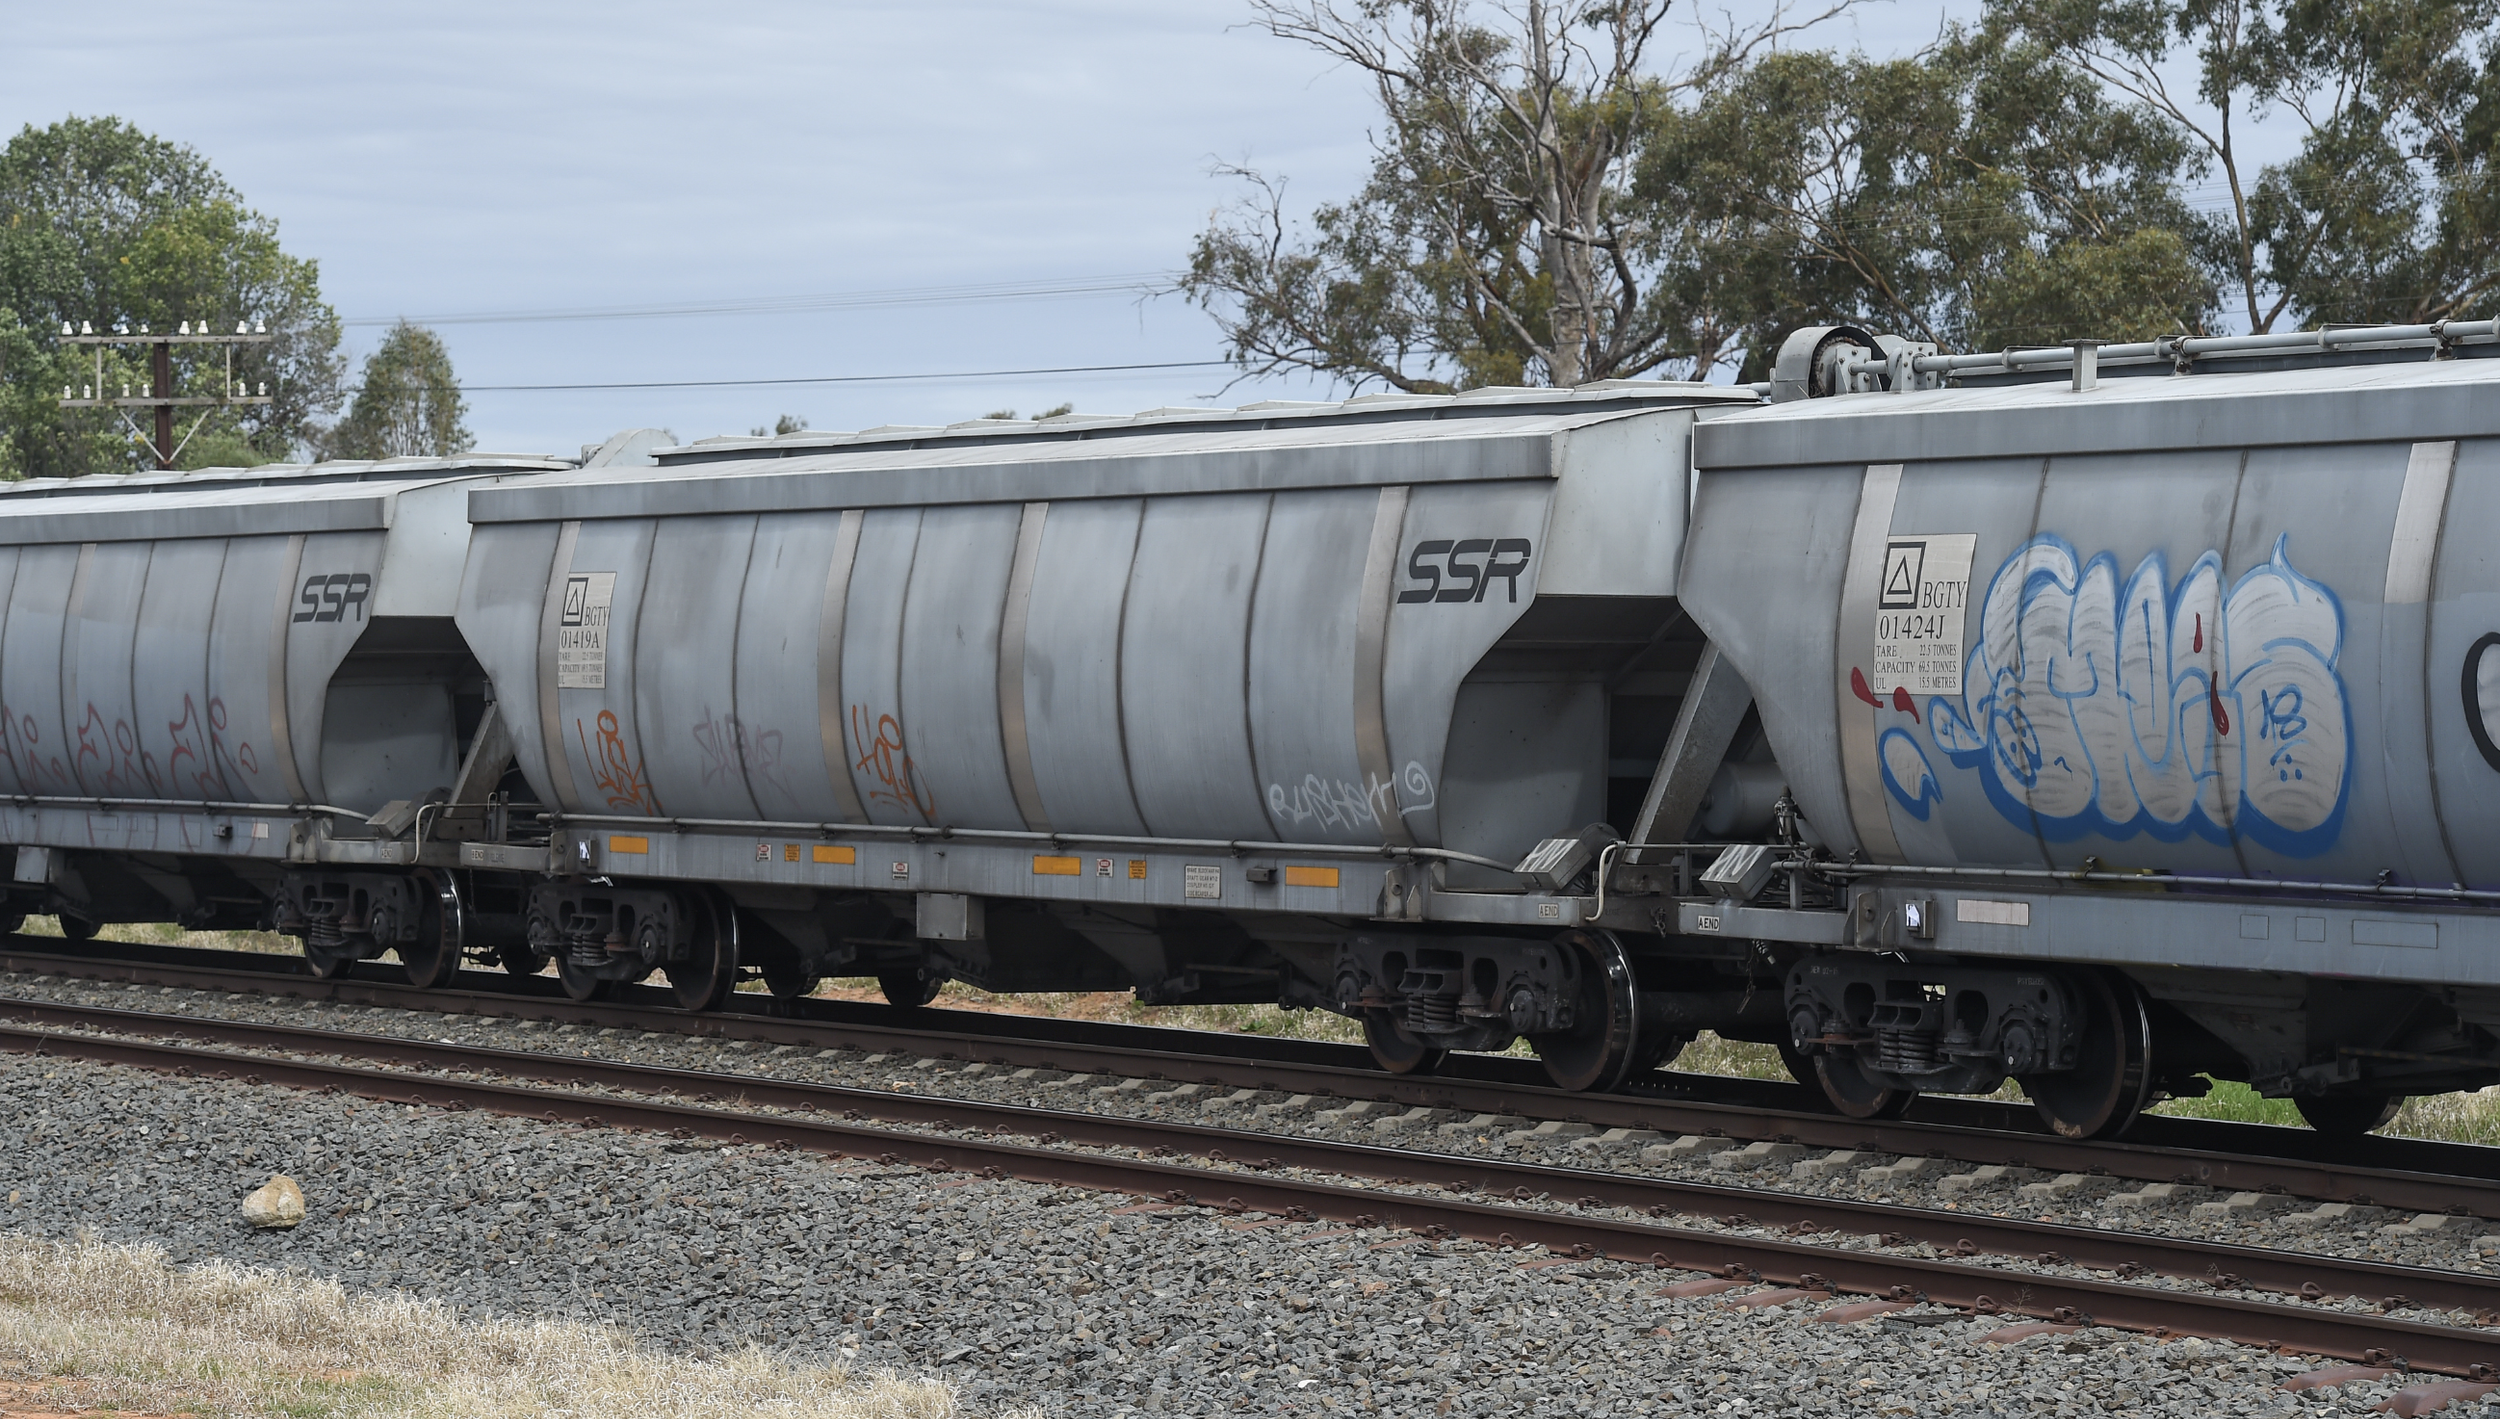
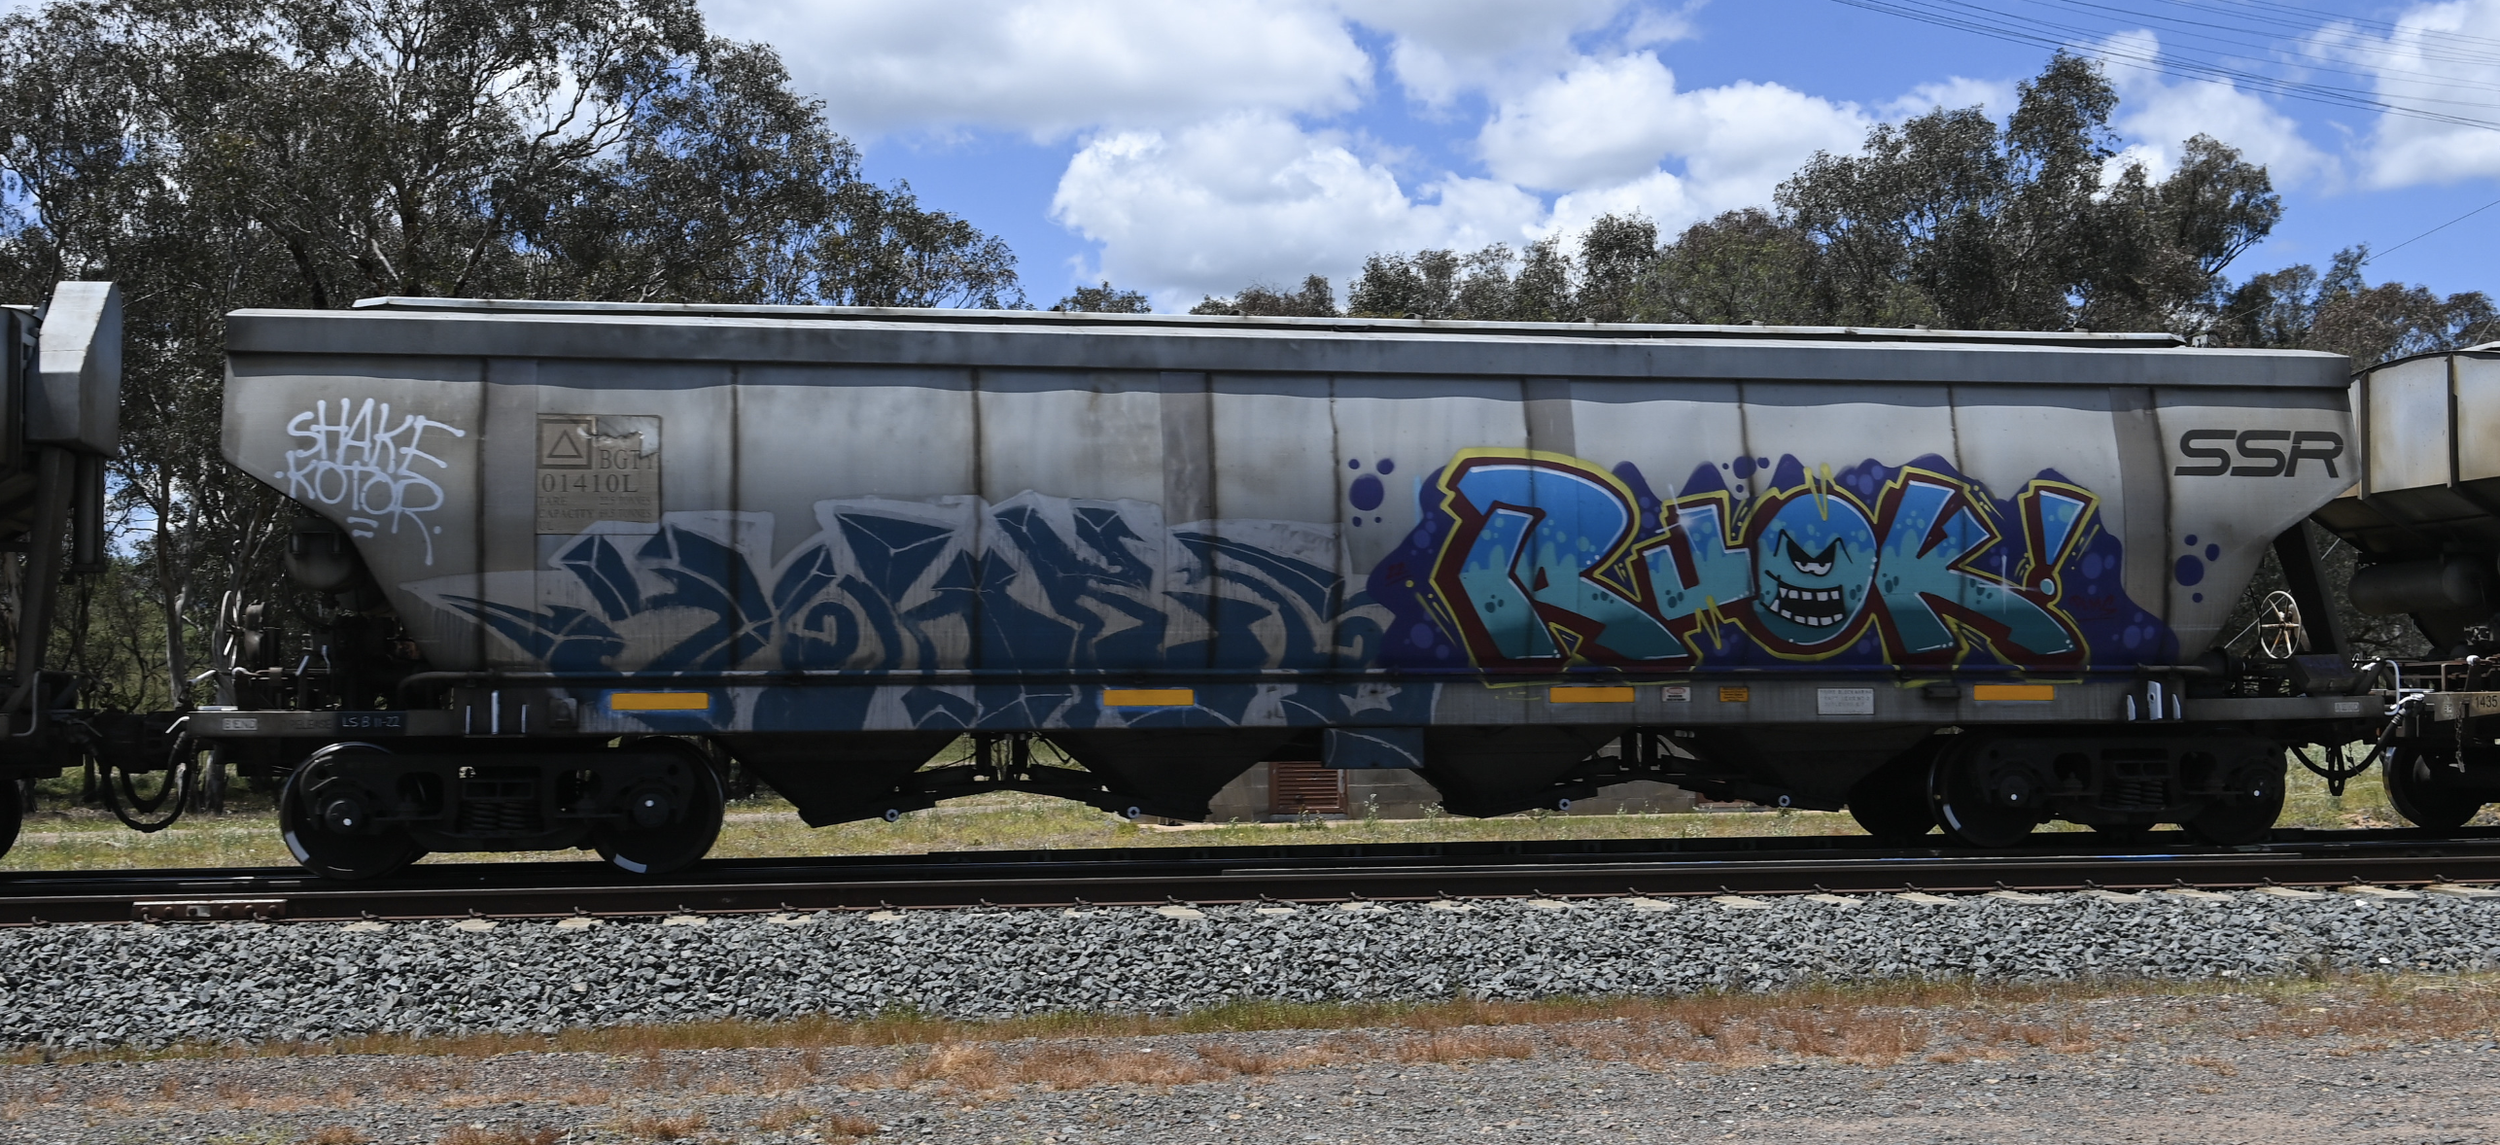
Some of the finished BGTY wagons
1. Design and 3D Modelling
I liked the look of the WGSY and BGSY, but their operating platforms seemed too delicate to model. Eventually, I spotted a BGTY [1] heading north; it shared the same shape but lacked the complex platform.
The Design Process:
Research: I found an HO scale model made by Southern Rail Models and I luckily found a plan online.
Scaling: I imported the plan into Adobe Illustrator to scale the drawings to my required size.
3D Modelling: I drew the wagon profile and imported it into Tinkercad, extruding it to the correct length.
Hopper Doors: These were trickier. I created a pyramid shape, removed the point, and duplicated it four times to create an acceptable grain release door for the base.
2. Casting the Parts
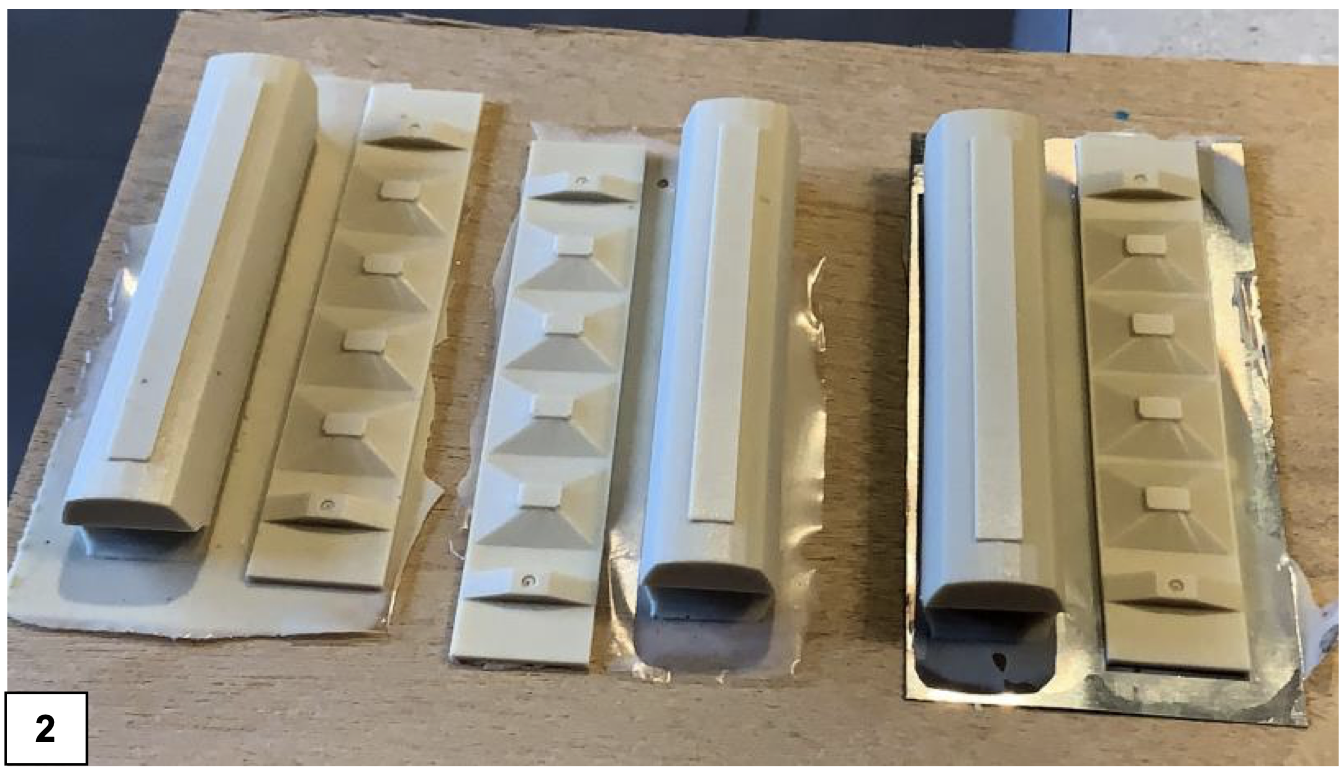
Castings
After a nervous month-long wait, the 3D-printed masters (the base and the top) arrived from Shapeways.
Mould Making: I used Barnes Pinkysil silicone rubber to create moulds for both parts.
Resin Pouring: I used Supercast resin (also from Barnes), measuring at a strict 1:1 ratio on scales.
Technique: I placed a piece of styrene over the mould and weighed it down before it set to ensure the mating surface remained smooth and level for gluing.
Trial and Error: The thin wagon base required a longer curing time to fully harden [2]. After spending about $100 on materials, I ended up with ten complete wagons and a significant "scrap heap" of failures.
3. Assembly and Brass Etching
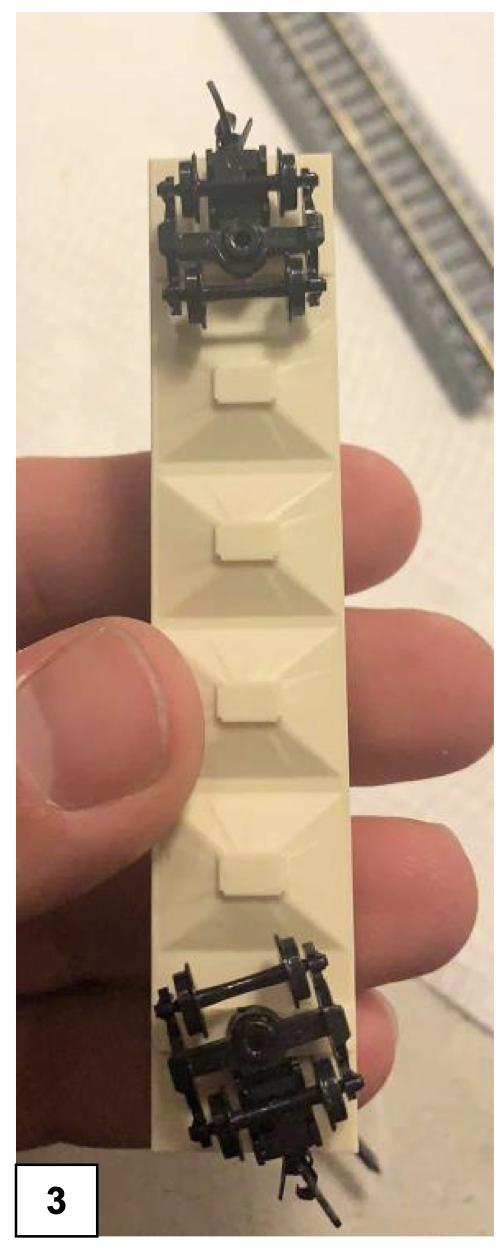
Once the parts were cast, I joined the top and base using slow-setting CA glue, then drilled out the holes for the bogies for a test run [3].
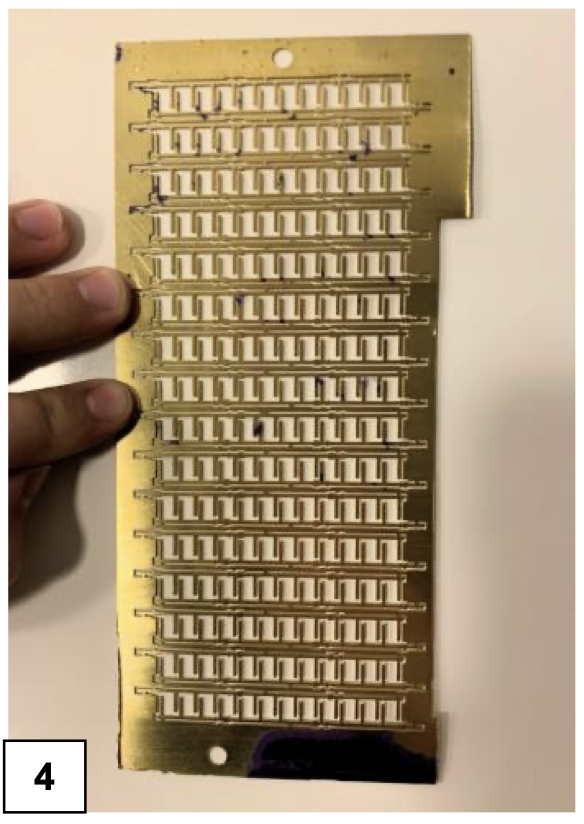
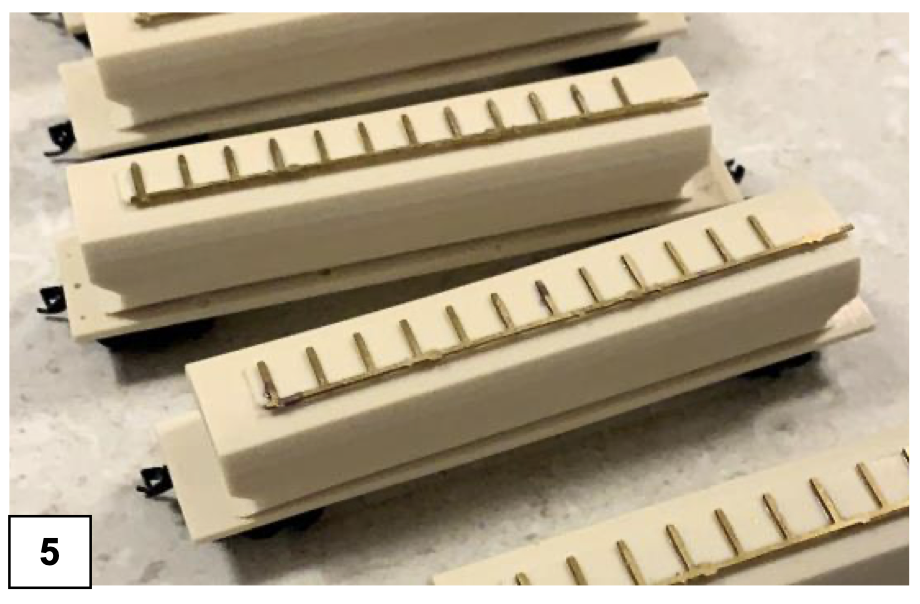
The Roof Detail: To achieve the necessary level of detail on the roof, I created an etching plan in Illustrator [4]. I sent this to Adrian Prassler in Melbourne, who produced a terrific brass etch. These were then attached using super glue [5].
4. Fine Detailing

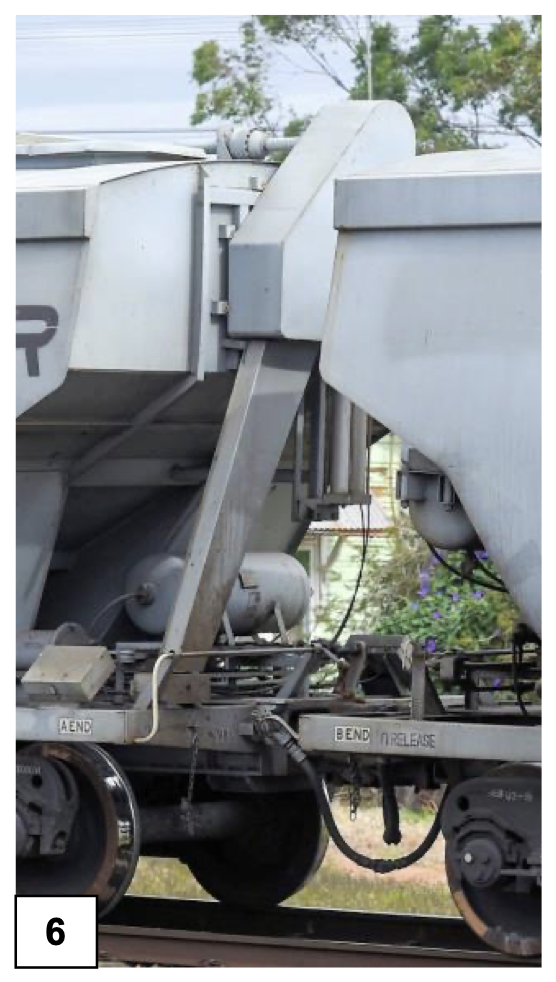
I was fortunate that my original plan included a side shot of the mechanical arm used to open the large top door [6].
Mechanical Arm: I fabricated this from 3.4 mm Evergreen styrene strip, trimmed at a 45-degree angle. I layered the styrene to give it the correct prototypical thickness [7].
Additional Details: Various styrene tubes and strips were added to represent miscellaneous hardware.
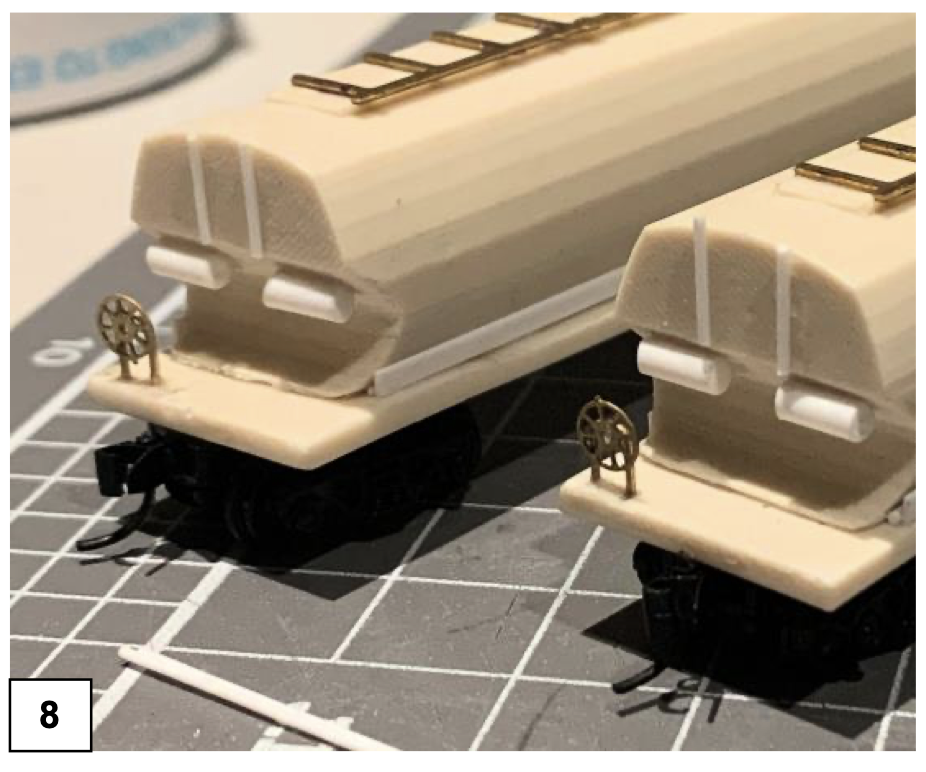
Brake Gear: John Miller supplied the brake wheels. I drilled tiny holes for the supporting legs directly into the wagon base rather than the side to ensure maximum strength [8].
5. Painting and Decalling
The final stage involved a multi-step finishing process:
Undercoat: The entire model was primed with a spray can.
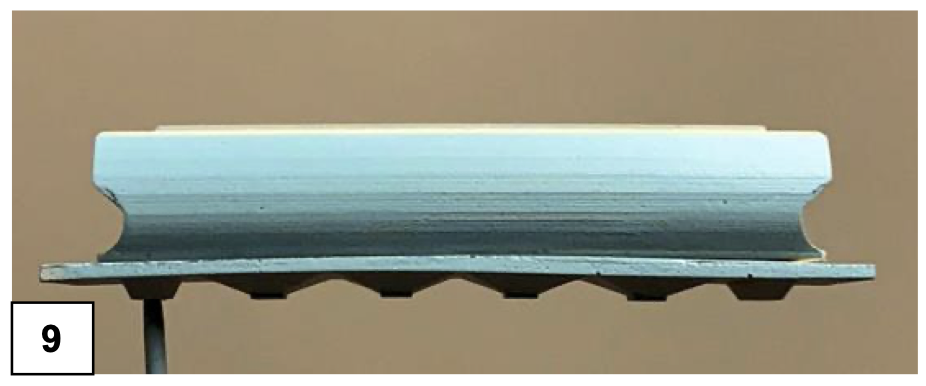
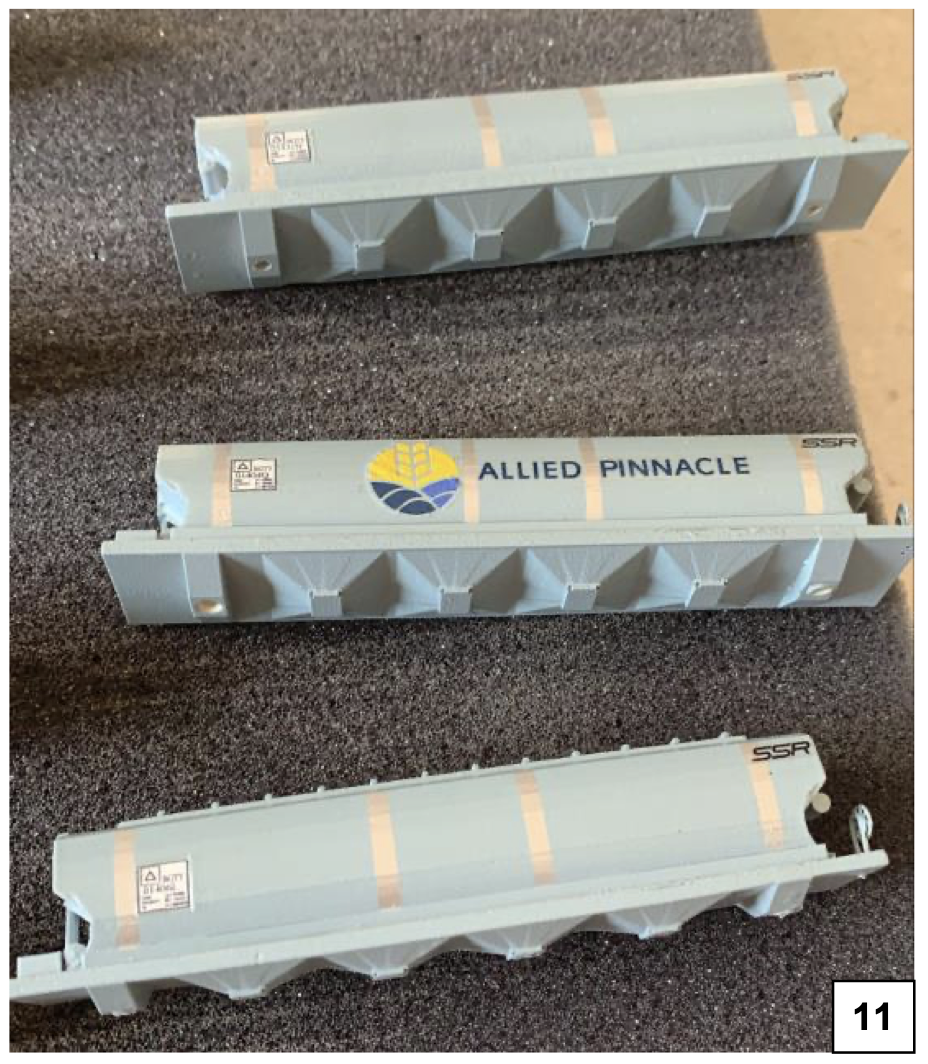
Base Colour: I used Tamiya AS-26 Light Ghost Grey for the main body [9].
Metal Panels: After masking the sides, I airbrushed the metal panels using Super Silver from Scale Modellers Supply (SMS).
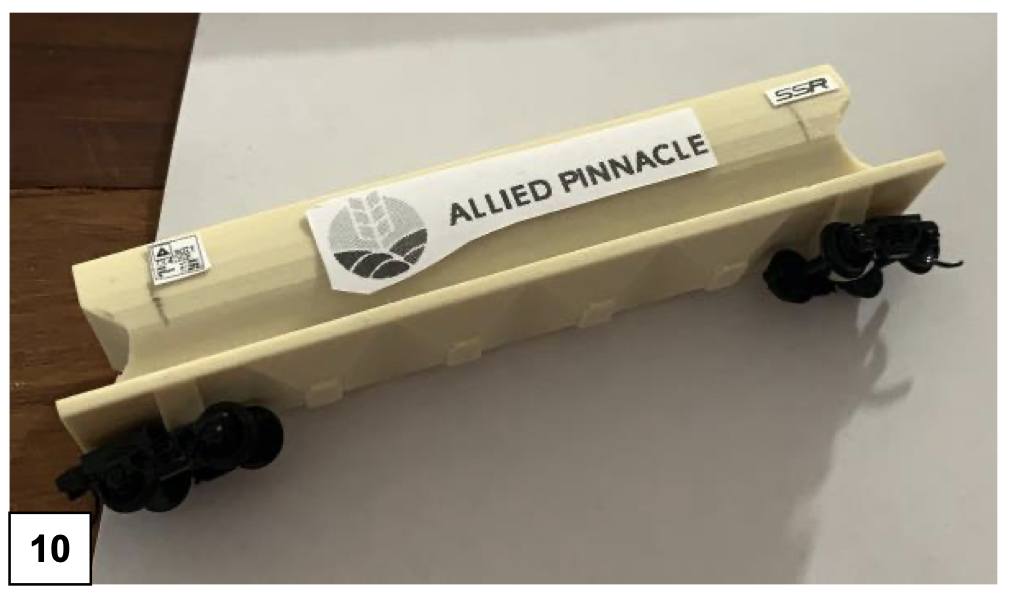
Decals: I designed the decals myself in Illustrator based on prototype photographs [10].
Finishing: The decals were applied over a gloss coat, followed by a final matte clear coat using SMS products [11].